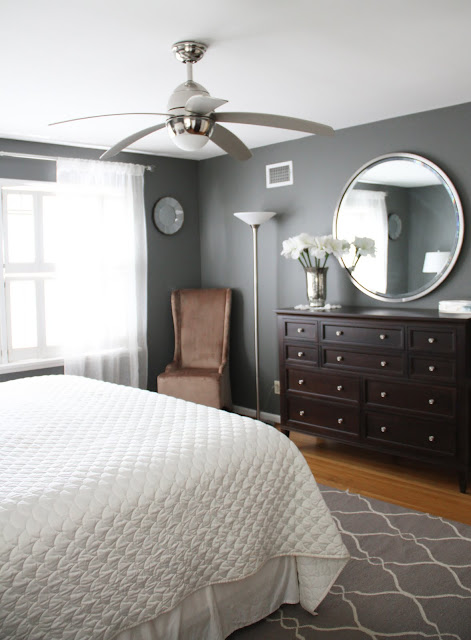
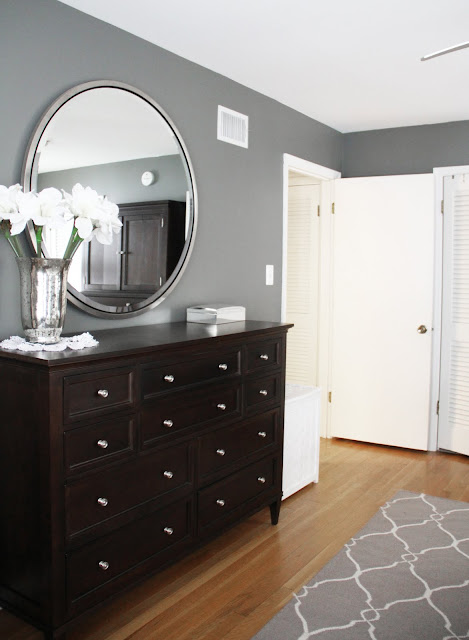
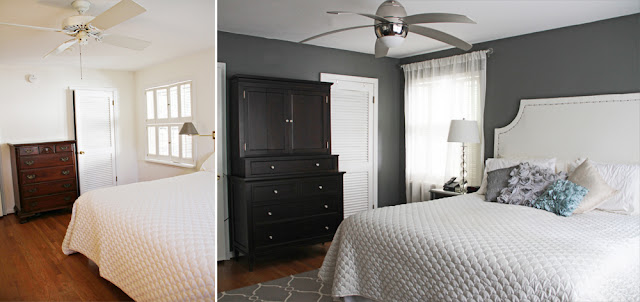
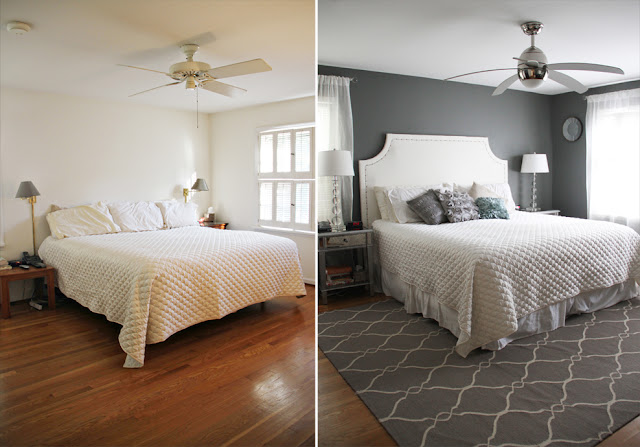
Oh, thank you all so much for the lovely comments on our master bedroom make-over. I absolutely loved the way it turned out. I'm also really glad that I decided to make our headboard myself, instead of buying one. I think it turned out better than I ever could have imagined!
The photo below was my inspiration headboard. I had been drooling over this headboard for.ev.er. It's from Restoration Hardware and costs $1,500. Yikes. I'm not super stingy, but even I couldn't come close to justifying spending that kind of money on a headboard. Geez.
Other gorgeous headboards: here and here.
So, I did what any good crafter would do. I searched blogs for someone that had made their own heardboard and copied them. Easy enough! My favorite DIY headboard tutorial was from a blog called Southern Exposure. She did a great job walking me through the process. And hopefully I can do the same for you.
Step 1 - Go to Home Depot and buy a GIANT piece of plywood.

Or if you're like me, you can make your husband go get it because there's no way in hell I can lift that shit. I had no idea plywood was so heavy.
Since this is for a king-sized bed, I had Ryan pick up the biggest piece of 3/4 inch plywood they had, which was 4' x 8' - I think it cost around $20. I thought he was going to laugh me out of the house when he dropped this off with a snide "good luck with your giant piece of plywood...I'm going to the baseball game." And out the door he went, giggling at his silly little wife and her big ideas and power tools. You'd think the man would realize that I have a Super Woman complex and think I can do anything I set my mind to. (I blame my parents for always believing in me. Sheesh. They created this monster. Terrible parenting.) Oh boy, was he in for a surprise.
Step 2 - Cut the plywood to size
So, the super giant piece was a little bigger/longer than I needed, so I pulled out my trusty circular saw and took a few inches off the side. I ended up cutting that long piece into 2 pieces for the legs, but wait, I'm getting ahead of myself already. If don't have a circular saw, have Home Depot cut the plywood for you. They'll do it right there in the store and you don't have to even worry about it. I think it costs like $2.00 or something.
Step 3 - Choose the shape of your headboard.
There are so many really great headboard shapes out there, it was hard to decide what would look best in our space. Ultimately, I went with the "Belgrave" shape, which was the same as my original Restoration Hardware inspiration headboard above. I also really like the "Grosvenor" below, which was similar to the Belgrave, but with a curved top. However, I thought it would be difficult to pull off cutting the plywood in a curve like that, so I scrapped that idea. In my opinion, the simpler the better.
In order to get the classic curved Belgrave shape, the blogger used a compass to draw the curves. Great idea. Well, I tried that, but my compass was way too small. Err. So I improvised. I took the lid of the trash can in the garage and traced it on the edge of the plywood. Viola! I did a couple different lines to see how much I wanted to take out. It was a perfect circular edge. Quite genius, if I do say so myself.
Step 4 - Cut out your headboard shape
Cutting along the curved lines requires a jigsaw. Can I just say that I absolutely freaking love my jigsaw! It may be the best $50 I've ever spent. It's the coolest little, most adorable power tool ever. I'd use it cut vegetables and paper and everything, if I could. Seriously, it's amazing. Sara + Jigsaw = love FOREVER.
Time to cut...better put on my safety goggles. Don't want to lose an eye.
And that was it!
Once I had the cut-out portion of one side, I took that piece of plywood and used it as my template for the other side. That was I'd be sure that they were exactly the same size.
And then do the other side.
Step 5 - Make the headboard legs.
While Ryan was at Home Depot, I also had him pick up a large sheet of MDF (medium density fiberboard), which cost about $15. So, I cut (using my AWESOME jigsaw again) 2 large strips of MDF the same width as the plywood legs (remember, I told you about those above).
I wanted a really tall "statement" headboard, so I made the legs pretty tall. You can make them much shorter if you don't want such a tall headboard. Or, if you're making a headboard for a small bed, you might not even need legs. A lot of the headboards that I've looked at (the store-bought ones) just hang on the wall behind the bed. However, my giant headboard was ridiculously heavy, so there was no way it was hanging. I could just imagine that thing falling on us in the middle of the night and crushing us to death. Seriously, Ryan would never let me live that down (even if we were dead), so legs it was!
I attached the MDF legs with wood screws directly into the plywood. Around 8 screws. And then I took the extra plywood (remember that!) and attached it to the other side of the MDF leg, making them twice as thick as the plywood. I figured this would give it some extra stability. I wasn't really trusting that MDF on its own.
Step 6 - Frame the rest of the headboard with MDF.
I think this one is pretty self explanatory. I took more MDF scrap, screwed them to the plywood and then cut them to match.
So the entire headboard was framed with MDF,
which is where the nailhead trim would go later.
There she is!
Not too shabby, huh?
Step 7 - Add a layer of foam for padding.

Well, I accidentally bought the wrong size foam (it was a little thicker than it should have been), which didn't turn out to be a big deal, but I would do it differently next time. I bought 1 inch thick foam, but only had 1/2 inch thick MDF. This meant that my foam padding would stick up a little higher than my MDF, instead of it all being even. It really wasn't a big deal, but just wanted you to know it'd be better if it was flush.
I cut the foam padding with an Exacto knife to fit snugly inside my MDF frame. Then I applied a thick layer of spray-on adhesive and let the foam dry to the board. It didn't work all that well, but again, not a big deal.
So now it's ready for the fabric!
Step 8 - Position the fabric.
You're going to want to lay out your fabric (washed, cleaned and ironed) on a large clean surface. Put the fabric "right-side" facing down on the ground/table. Then add a layer or two of quilting batting. I only added one thin layer - I wish I would have used a lot more to give it a much more "padded" look, but again, lesson learned and not a big deal. Then position your headboard (also face-down or pad-side down) on the batting and fabric.

At this point we made sure (again) that the fabric fit all the way around the headboard. I think I purchased 4 yards of fabric for the project and cut it down to size. I found a really pretty off-white quilted-looking fabric at Hancock Fabrics for about $20/yard. We pulled the fabric tight on both sides around the edges and put in 1 staple (just to hold it in place) on each side. Then we stood the headboard up, so we could make sure that the the fabric wasn't wrinkled or bunching or lopsided or anything.
Step 9 - Staple the fabric to the back of the plywood
You might need a little help on this part. My mom was in town for the weekend, so I had her help me with the fabric wrapping. Two sets of hands were crucial. One person pulled and smoothed the fabric, while the other person stapled.
My staple gun sucked-ass, so every third staple or so, it jammed and I had to unplug it and stick a screwdriver in to yank out the staples. The staple gun needs a lesson in being awesome from my jigsaw.
We did a few staples on one side, then moved over and did a few on the other side. Back and forth making sure everything was pulled tight and looked good in front.
We had to cut the corners of the fabric quite a bit in order for us to be able to stretch it tight over the curves. The fabric I picked had a slightly quilted look and was not stretchy at all - a jersey-type fabric would have been much easier to stretch. I really wanted that curve to be well defined and the points to be dramatic. If I had more batting in between the fabric and the plywood, I probably couldn't have achieved this as well, so maybe it was better that I only used a thin piece. Whatever, I'm sure you could care less.
So here's what the back looks like. And then I added about 600 more staples to make sure it stayed.
Step 10 - Cut fabric for the legs.
If your headboard legs won't be showing you can skip this step. However, I wanted the headboard to be slightly larger (length-wise) than the bed, so it would stick out a little on both ends. Why? No idea, I just did. So that meant that I had to wrap the legs too. I cut a couple scrap pieces of the fabric, ironed the top hem so it would line up with the quilting on the other fabric, and wrapped the legs.
Again, it was nice having another pair of hands to help with the wrapping (and also to take a ton of terrible pictures of you while you look like total shit that you intend to plaster all over the internet. Seriously, why didn't I put on some make up? Ugh.)
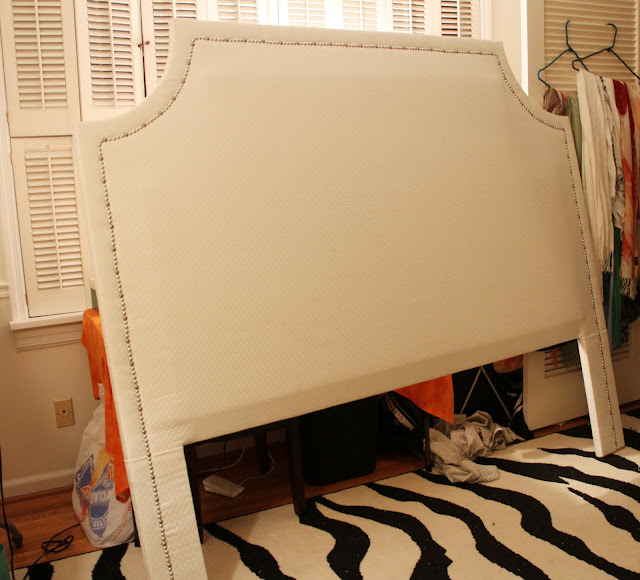
Ta da!
Step 11 - Apply nailhead trim
That awesome blogger over at Southern Exposure bought upholstery tacks and hammered in every single nail all the way around her entire headboard. It looks amazing. And I'm impressed. And I'm also WAY too lazy to do that. So, I went online and bought this "nailhead trim" - which is basically a length of ribbon-like nailhead trim that has a hole every 5 tacks where you attach it to your upholstery project. 1/5 of the amount of work! Bingo! You can buy a roll just like this (10 yards) for around $20 on Amazon.
So I started at the bottom and worked my way up and over and back down the other side.
WARNING: This shit is sharp and will cut the hell out of you. You will cry. And you will bleed all over your pretty white fabric. Which will make you cry even harder.
Other than the bleeding and crying, the trim was pretty easy to work with. I gave myself a 2 inch edge around the entire headboard. The only thing I was not thrilled about was the difference in color between the actual "nailhead trim" and the so-called matching nails. The trim was silver and bright. The nails were pewter and dark. So, every 5 nails on my trim is a slightly different color.
At first I was kind of pissed off about this, but now I don't mind it at all. You can't really tell (well, you can now since I pointed it out, duh.). Maybe it's grown on me or maybe I'm just too lazy to care.
And that's it! It's ready to be carried in and stuffed behind the bed.
Step 12 - Put the head board in place behind the bed and force your husband to eat his words.
I didn't do anything with the headboard other than just stick it behind the bed. It's not attached to the wall or the bed. It stays just fine and I haven't had any issues with it. If you want, you can attach it to the bed frame, to keep the mattress/frame from moving away from it. Or attach it to the wall behind the bed. Or do nothing.
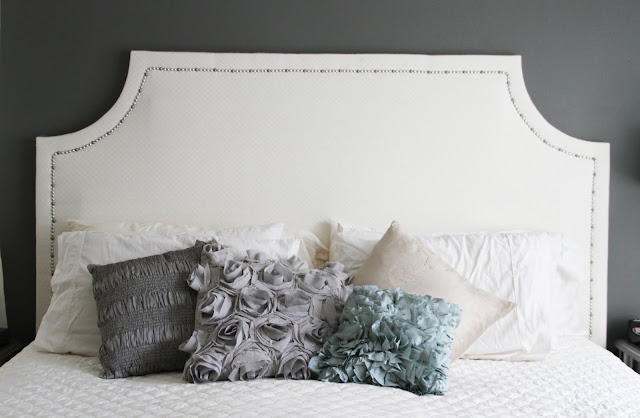
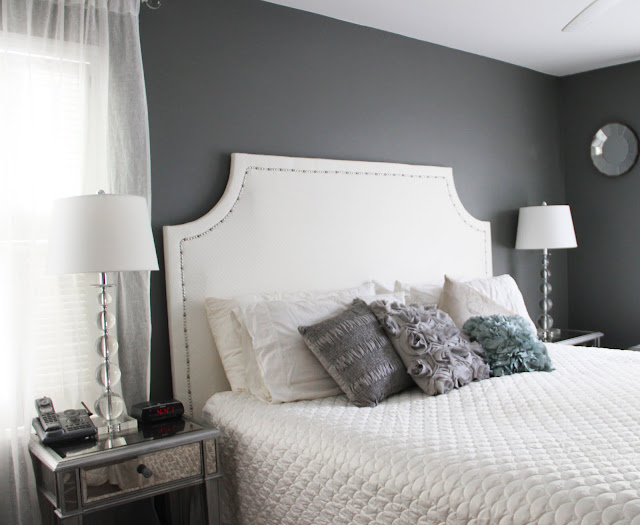
And here's the final result.
I love it!
My husband spent quite a lot of time apologizing profusely for doubting my headboard making abilities. Oh, how he had to eat his words. I think he should have known better, but he's quite impressed with me about this project. I like that.
So, the whole cost of the project was about $160.
Plywood = $20
MDF = $20
Fabric = $80
Batting and foam = $20
Compared to the Restoration Hardware headboard that was $1,500...this is a STEAL!
And I think it looks just as good!
What do you guys think?
Anyone considering making their own headboard?


